
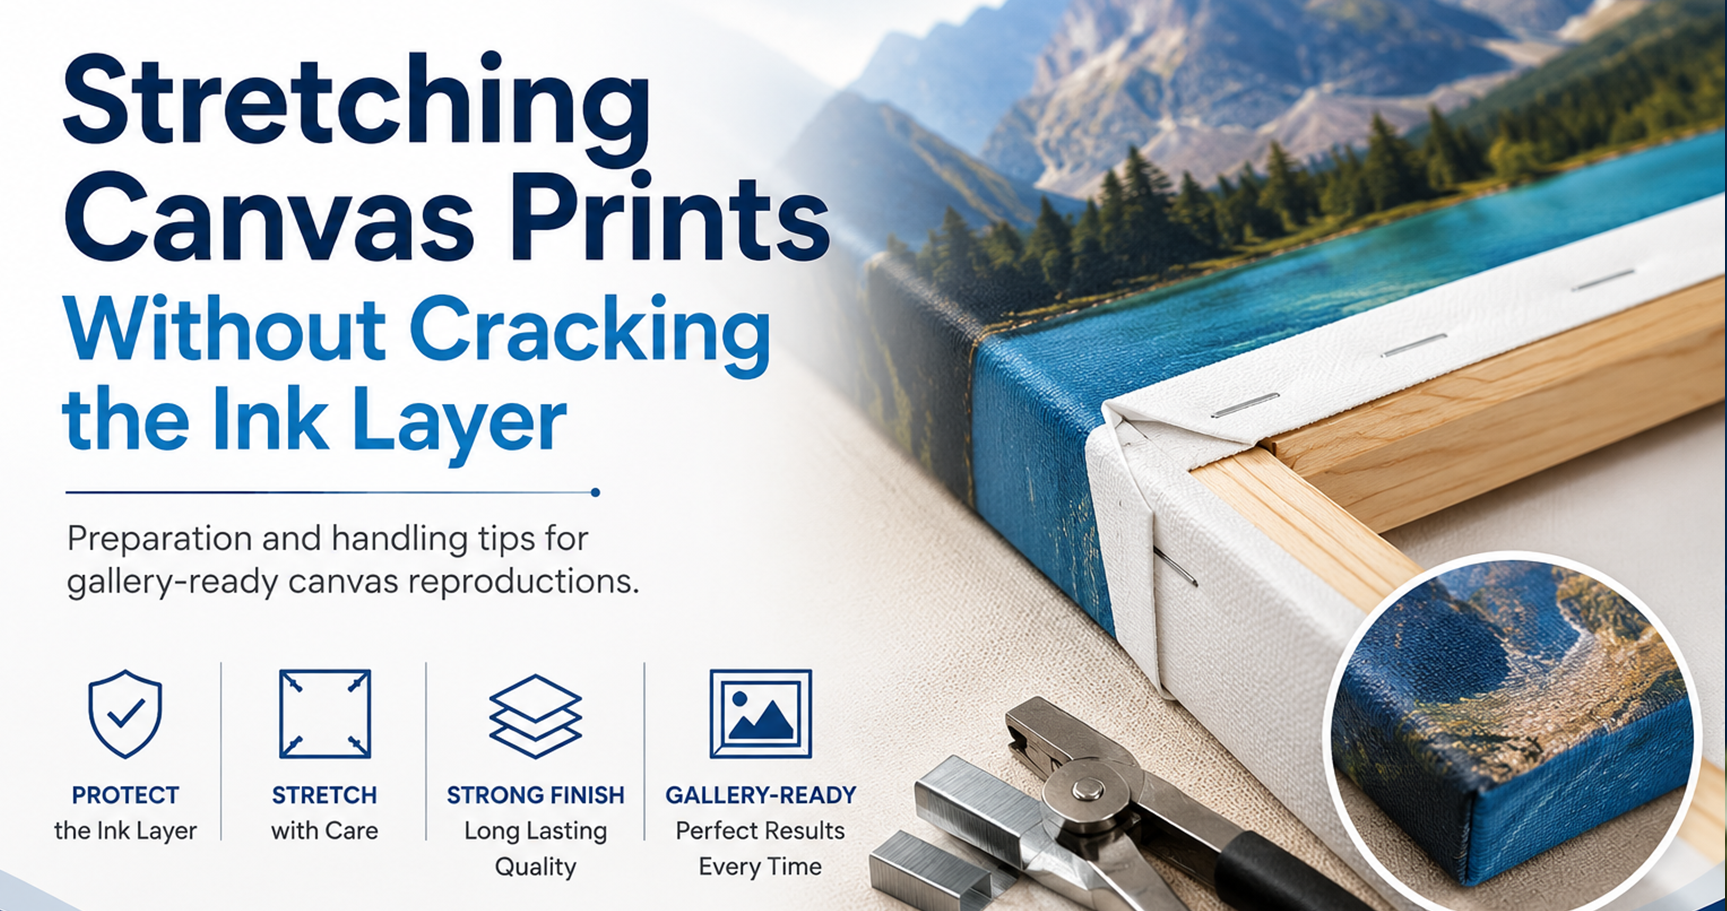
Canvas printing is widely used for artwork, photography, interior décor, exhibitions, and gallery-style displays. However, producing a high-quality canvas print is only part of the process. Proper stretching and handling are equally important to maintain the appearance and integrity of the finished print.
One of the most common concerns during canvas finishing is cracking or damaging the printed ink layer while stretching the canvas.
With the right preparation, suitable materials, and careful handling techniques, canvas prints can be stretched securely while maintaining their colour, detail, and professional appearance.
What Is Canvas Stretching?
Canvas stretching is the process of attaching a printed canvas sheet to a wooden or rigid stretcher frame so that the surface becomes smooth and ready for display.
The canvas is carefully positioned over the frame and tensioned from the centre outward. The goal is to achieve an even, firm surface without creating excessive stress on the printed image.
Proper stretching is especially important for large-format canvas prints because larger surfaces can experience greater tension during installation.
Why Can the Ink Layer Crack?
Cracking can occur when the printed surface is exposed to excessive tension, bending, folding, or mechanical stress.
Several factors can contribute to this problem, including:
- Excessive stretching
- Incorrect canvas tension
- Insufficient drying time
- Folding the printed surface
- Sharp bends or creases
- Unsuitable canvas material
- Improper stretching technique
- Excessive handling of the printed area
Understanding these factors can help reduce the risk of damage during finishing.
Allow the Print to Dry Properly
One of the most important steps before stretching is allowing the printed canvas to dry completely.
Freshly printed surfaces can be more sensitive to handling. Stretching the material before the ink or coating has stabilised can increase the risk of surface marks, cracking, or other defects.
The required drying time can vary depending on the printing system, ink type, canvas material, environmental conditions, and coating.
Always allow sufficient drying time before beginning the stretching process.
Choose the Right Canvas Material
Not all canvas materials behave in exactly the same way.
Different canvas products can vary in:
- Surface texture
- Flexibility
- Thickness
- Coating
- Ink compatibility
- Stretching characteristics
- Durability
A canvas designed specifically for stretching and fine-art or photographic applications can provide better results than a material that is not intended for frame mounting.
Choosing a compatible canvas is the first step toward achieving a reliable finished product.
Prepare the Stretcher Frame
The stretcher frame should be clean, straight, and properly assembled before stretching begins.
Check the frame for:
- Uneven corners
- Warping
- Loose joints
- Sharp edges
- Uneven frame surfaces
A properly prepared frame helps distribute tension evenly across the canvas and reduces unnecessary stress on the printed surface.
Position the Canvas Correctly
Before attaching the canvas, place it face-up on a clean, flat surface and position the stretcher frame carefully.
Make sure the image is correctly aligned and that enough canvas extends beyond each side of the frame.
Extra material is required around the edges so that the canvas can be pulled around the frame and secured to the back.
Careful positioning at this stage can prevent alignment problems later.
Start Stretching from the Centre
A common professional technique is to begin securing the canvas from the centre of each side rather than starting at one corner.
Secure the centre of one side, then move to the opposite side. Repeat the process with the remaining two sides.
This helps distribute tension more evenly across the canvas.
Avoid pulling the canvas aggressively. The objective is to create a smooth surface with controlled tension rather than stretching the material as tightly as possible.
Work Gradually Towards the Corners
Once the centre points are secured, continue working outward toward the corners.
Apply tension gradually and check the surface regularly.
The canvas should remain:
- Smooth
- Evenly tensioned
- Free from visible wrinkles
- Properly aligned
- Without excessive stress on the printed surface
If wrinkles appear, avoid immediately increasing the pulling force. Instead, release the affected area and reposition the canvas before continuing.
Avoid Over-Stretching
One of the biggest mistakes when stretching canvas is applying too much tension.
The canvas should be firm enough to create a clean display surface, but it should not be stretched excessively.
Over-stretching can place unnecessary stress on the ink layer and may contribute to cracking, distortion, or other surface damage.
A controlled and consistent approach generally produces better results than simply applying maximum tension.
Protect the Printed Surface During Handling
The printed side of the canvas should be handled carefully throughout the finishing process.
Avoid placing the printed surface directly against rough or dirty work surfaces.
Whenever possible:
- Keep the workspace clean
- Avoid dragging the printed canvas
- Do not fold the printed area sharply
- Handle the canvas with clean hands or suitable gloves
- Keep tools away from the printed surface
These simple precautions can help protect the image from scratches, marks, and surface damage.
Pay Attention to the Corners
Canvas corners require special attention because excess material needs to be folded neatly around the frame.
Poorly folded corners can create excessive thickness, uneven tension, or visible distortion.
Take time to create clean and consistent corner folds without pulling the canvas excessively.
For gallery-ready work, neat corners can make a noticeable difference to the overall presentation.
Consider the Size of the Canvas
The larger the canvas, the more important proper tension management becomes.
A small canvas may be relatively easy to stretch, while a large-format canvas requires more careful control.
Large prints can be more difficult to align and may require additional attention to:
- Frame stability
- Canvas tension
- Material flexibility
- Corner finishing
- Handling and transportation
For very large prints, professional finishing equipment and experience can help maintain consistency.
Canvas Coating and Protection
Depending on the application, a protective coating may be applied to the printed canvas.
A suitable coating can help protect the print from environmental exposure and everyday handling.
However, coating should be compatible with the canvas, ink, and intended application. It should also be applied correctly to avoid affecting colour, texture, or surface appearance.
For high-value artwork and professional photography, choosing the right protection can help extend the practical life of the print.
Storage Before Stretching
If canvas prints cannot be stretched immediately after printing, proper storage is important.
Keep printed canvas:
- Flat or appropriately rolled
- Protected from dust
- Away from direct sunlight
- Protected from excessive heat
- Away from moisture
- Free from sharp folds and creases
Avoid folding printed canvas whenever possible, as sharp creases can permanently affect the surface.
Common Mistakes to Avoid
Stretching Too Quickly
Rushing the process can result in uneven tension, wrinkles, and alignment problems.
Using Excessive Force
Pulling the canvas too tightly can place unnecessary stress on the printed surface.
Stretching Before Proper Drying
Handling a freshly printed canvas before it has sufficiently dried can increase the risk of surface damage.
Ignoring the Frame
A warped or poorly assembled stretcher frame can make proper stretching difficult.
Folding the Printed Surface
Sharp folds can damage the image and may leave permanent marks.
Using the Wrong Canvas
A canvas that is not suitable for stretching may not provide the desired finishing quality.
A Simple Canvas Stretching Checklist
Before starting the stretching process, check the following:
- Is the canvas completely dry?
- Is the stretcher frame straight and stable?
- Is the canvas correctly aligned?
- Is there enough material around all sides?
- Is the printed surface protected?
- Are you applying controlled tension?
- Are wrinkles being corrected before securing the canvas?
- Are the corners being finished neatly?
Following a simple checklist can help reduce finishing errors and improve consistency.
How Professional Printers Achieve Gallery-Ready Results
Professional canvas finishing is not simply about stretching the material tightly onto a frame.
It involves understanding how the canvas, ink, coating, frame, tension, and environment work together.
A professional workflow typically focuses on:
- Correct material selection
- Proper print preparation
- Controlled drying
- Accurate frame assembly
- Careful alignment
- Even tension distribution
- Clean corner finishing
- Proper handling and storage
These steps help produce a clean, professional result suitable for galleries, homes, offices, exhibitions, and commercial interiors.
Final Thoughts
Stretching a canvas print correctly is essential for achieving a professional finish without damaging the printed image.
The key is not maximum tension but controlled and even tension. Allowing the print to dry properly, selecting the right canvas, preparing the frame, and working gradually can significantly reduce the risk of cracking and other surface problems.
For photographers, artists, print studios, and businesses producing gallery-ready canvas reproductions, careful finishing is just as important as the printing process itself.
A great canvas print deserves an equally great finish — stretch it carefully, protect the image, and let the artwork speak for itself.